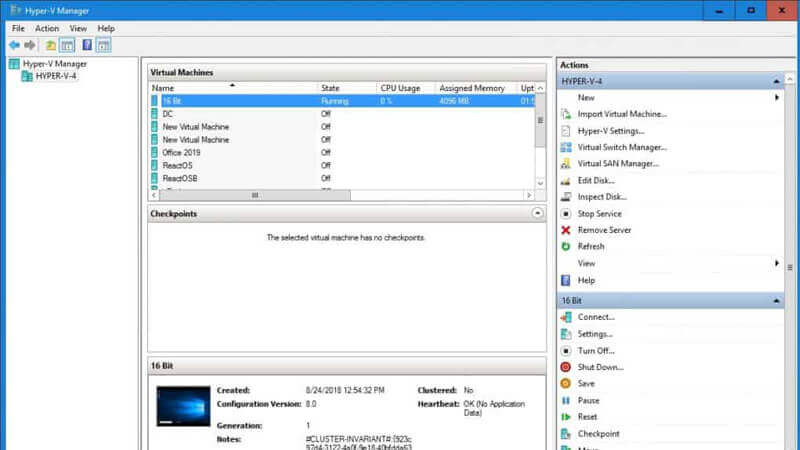
Hyper-V has been introduced since 2008. Now, this system has changed a lot, and to manage it, you will need a management tool, which is the Hyper-V manager. If you want to use it on Windows 10, it will be a little bit difficult to do. Don’t worry, here is your help.

Table of Contents
Make Sure Your Computer Ready for Hyper-V Manager
First, you need to make some changes to your computer BIOS. Boot your computer and go to the BIOS setting. Then you need to go to the “System Security” menu, choose “Virtualization Technology.”
By choosing this menu, you will enable it. After you change the BIOS setting, you can go to the Desktop screen on Windows 10.
How to Find and Open Hyper-V Manager on Windows 10
First, you need to enable this tool. To do that, you need to open “Control Panel,” choose “Programs,” then “Turn Windows feature on or off.” In this menu, you will find the “Hyper-V” option. Choose this option and check all the components you can find in it.
Then, the last step is clicking the “OK” button. After you activate this tool, you need to restart your computer to make it activated.
To open the tool, you need to go to the Start menu, and you can find Hyper-V Manage Tools on the application list. Choose it to open the tool. If you want to use it a lot, make sure to pin it on your Taskbar.
If you can’t find the tool, you can search it through the MMC Console. Just type MMC on Start menu and choose “File,” “Add/Remove Snap-in,” and find Hyper-V manager. Check it to add it to the menu. Click OK, and you can find it easily on your Start menu.
Using Hyper-V Manager
After you find the tool, now you can use it by creating a network switch first. It’s important, so you can run virtual machines through the Hyper-V manager.
To do this, you need to open Hyper-V Manager with the method mentioned before. Right-click on the hostname that you want to edit and choose Virtual Switch Manager. You also can do it through the Action menu.
Once you choose Virtual Switch Manager, you will find three options for creating the virtual switch that you want. They are:
- External type. It is the type where you want to use the virtual machine to access physical network,
- Internal type. It is the type where you want to use the virtual machine without using a physical network,
- Private type. It is the type you can use if you want to use one virtual machine on the host that you have picked.
After you choose the virtual switch type that you need, you just need to choose to Create Virtual Switch, and it will create the virtual machine that you need.
Once you create, you also can adjust the setting of the Hyper-V that you’ve just created through a similar page of the tool. After you do that, you can use the second OS through the Hyper-V on your computer.


